Moved into a house with a LFX25961AL fridge. Worked for about 2 years. The icemaker didn’t make a lot of ice, and the water flow was slow. Then it stopped cooling completely. Now it works 100%, here’s the problems and fixes:
No cooling
Fridge and freezer stopped cooling completely. LG compressors aren’t known for their reliability, but this fridge is probably 15 years old.
After dismantling just about everything and using an IR thermometer to check coils, determined it was definitely the compressor.
This compressor users R134a refrigerant (the same as my car) so I figured I could give fixing it a try. Very likely the refrigerant had leaked out. We can confirm that with a few parts.
Warning: it may be illegal to service refrigerant yourself!
It’s crazy how many people online said not to do this…maybe they are all refrigerator salespeople!
Bought some parts, this kit includes everything you need to refill a fridge: https://www.amazon.com/gp/product/B08B43ZBTW/
Except the gas, which you can pick up pretty much anywhere, including Home Depot. Just get R134A refrigerant with leak sealant.
So first you’ll need to put the bullet valve on the end of the compressor (the copper tube coming out in the photo). This is there for a reason – to fill the compressor! The copper is capped off at the factory. It is the “low side” service tube. Follow the instructions to get it hooked up like this. Make sure the valve is closed, of course.

Then hook up the rest:

Leave the 134a valve closed, and open the bullet valve completely. If your fridge isn’t on then turn it on now and wait a while.
From what I read, the low side reading should be around 0-3 PSI if the compressor is working correctly.
Since my refrigerant was empty, I saw a reading of -3 PSI. This means that the compressor is creating vacuum since it is pulling nothing through the system.
What you have to do then is slowly start adding R134a in small bursts until the pressure stabilizes positive. Refill a little bit, stop, refill a little bit, stop…the needle will start inching its way up with every burst.
Eventually the PSI stabilized to around 2-3 and I closed the bullet valve and disconnected everything (except the bullet valve of course, that stays there forever).
I could already tell it was starting to work, because negative temps were blowing out of the freezer compartment.
Several hours later:

Mission accomplished! Before I boarded everything back up, I was unable to see any of the leak sealant, which was dyed red. It must have been an extremely minor crack. This was actually 2 years ago and has been working fine.
Not enough ice, slow water
Alright so obviously this is water pressure. But it wasn’t any of the lines and it wasn’t the water filter. The ice tray wouldn’t fill up all the way and water would pour out really slowly.
It was the saddle valve installed in the basement which probably corroded over. Those are sometimes illegal due to local codes, because of how often they fail.
I turned off the saddle valve and capped the end just in case. I’ll replace it with a sharkbite later.
Got some water line and ran it from the sink line instead, with this: https://www.amazon.com/gp/product/B01KIJZE0S
Fixed. Now makes a lot of ice and water dispenses much faster.
Water leak!
Uh oh! Water leak behind the fridge.
Water had pooled up in the evaporator pool in the back of the fridge and started to overflow. I dried everything up and let it run a little bit. Water droplets were coming out of the water line going up to the fridge.
Looking closer, there was electrical tape around where a small hole was in the line. Previous owner must have had a small leak and electrical tape fixed it enough, due to the low pressure from before. When I fixed it, the high pressure caused more of a leak.
Easy fix requiring a scissor: remove the black clamp ring, pull the line, cut the line, put it back in. Put clamp back on. Done.

Now it’s too cold
Years later after the compressor fix, the refrigerator compartment froze over. My thought was it was the sensor at the top of the fridge which was possibly broken. The wire had been bent, so maybe it shorted. The level of resistance indicates temperature so that was my guess. The fridge was not throwing any errors.
I bought a new thermistor but it seems absolutely impossible to replace without taking apart the entire fridge. Unlike other fridge models, this one can’t be unplugged. The replacement part had bare leads and a 10 foot lead.

At some point in diagnosing, either playing with the cable or rebooting the fridge, it went back to normal and has been fine for months. Still unsure what the problem was. Possibly it could have been the motorized vent between the fridge and freezer, but I was unable to confirm.
To date, it has not frozen over again.
No water, no ice for you
The icemaker and both ice and water dispensers stopped working completely. When I rebooted the fridge, the icemaker lights would flash and then turn off. When trying to dispense water, the dispenser LED would also flash. After about 15 seconds, nothing would respond. To me it looked like a capacitor issue I encountered on another wine fridge, where not enough power was making it out of the mainboard. Manually turning the LED on or off through the display worked fine.
Just to make sure, I removed the icemaker and water solenoid just in case one of them was shorting. But the problem seemed the same, the dispenser LED would flash and then not respond after a while.
I also thought it could be the relay board that sits behind the dispenser panel. That controls the power given to the grind motor and the water solenoid. However there are no capacitors on that board and it looks like at least some power was making it to the ice maker and dispenser, since I saw LEDs light up. I also don’t think the ice maker is powered through that board.
Looking at the schematics in the service manual: https://www.manualslib.com/manual/749298/Lg-Lfx25961-Series.html

On the main assembly it says CON2 goes directly to the icemaker assembly. So if both the icemaker and the dispenser are not working, I think that’s a good indication that the problem is in the board somewhere.
Previously, I had encountered an error which indicated the mainboard was bad, but after rebooting the fridge, it went away. Perhaps this is an issue now.

The mainboard was $28 on ebay so I figured it was worth a shot without investigating further.
Fail
I replaced the mainboard and the relay board behind the dispenser to no avail.
The culprit!
After tons of testing and looking at wiring diagrams that were just…wrong, I finally got time to get out the multimeter and test every lead from the top of the fridge (in the door) to every connector in the freezer.
I confirmed that 120v AC was getting to the top of the fridge at least, and determined that the blue (neutral) and yellow (live) wires went down to the relay board.
Well, unfortunately I found that the neutral wire wasn’t connecting to the top of the fridge. No obvious damage anywhere that I could see. Probably in the door, which would be impossible to repair as it’s likely foamed in.
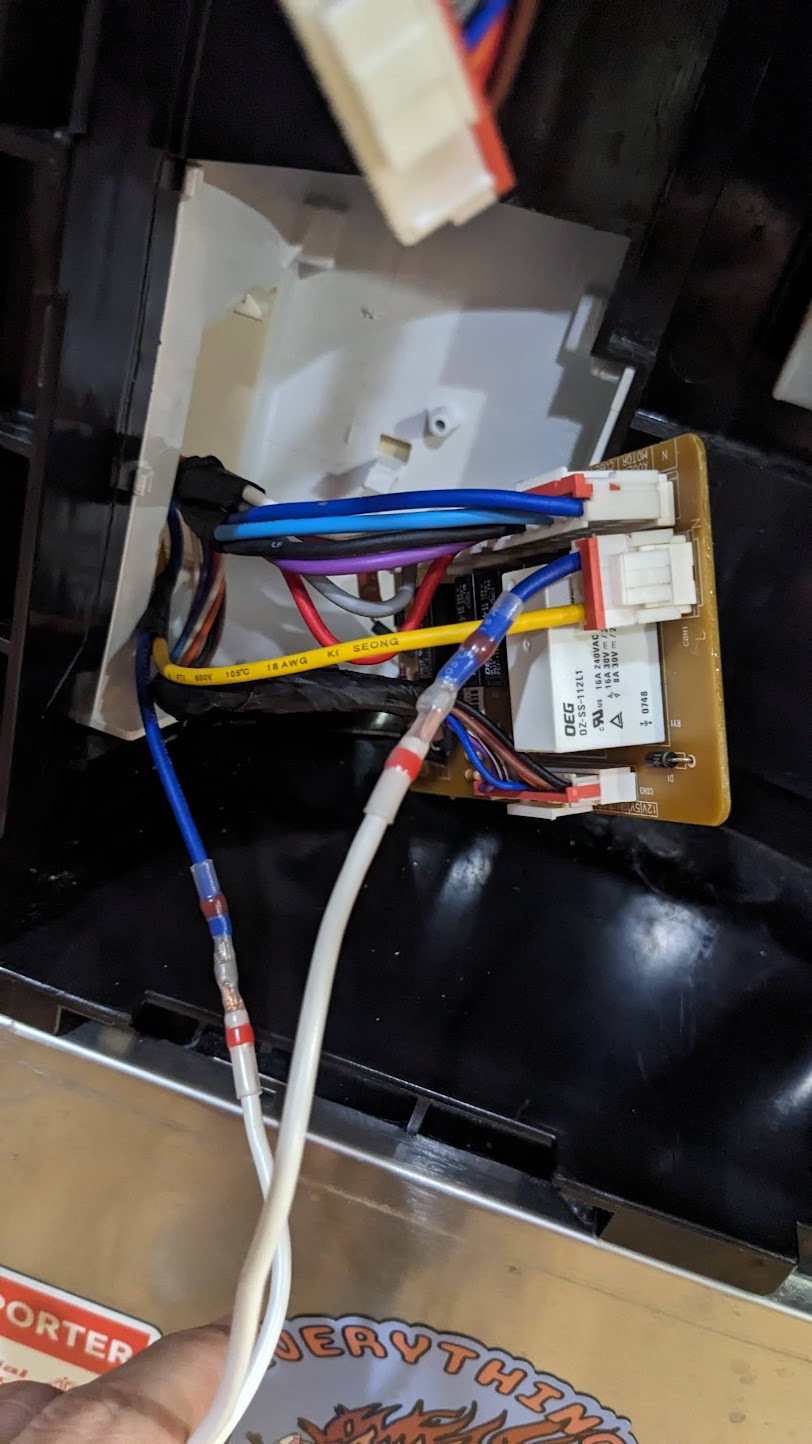
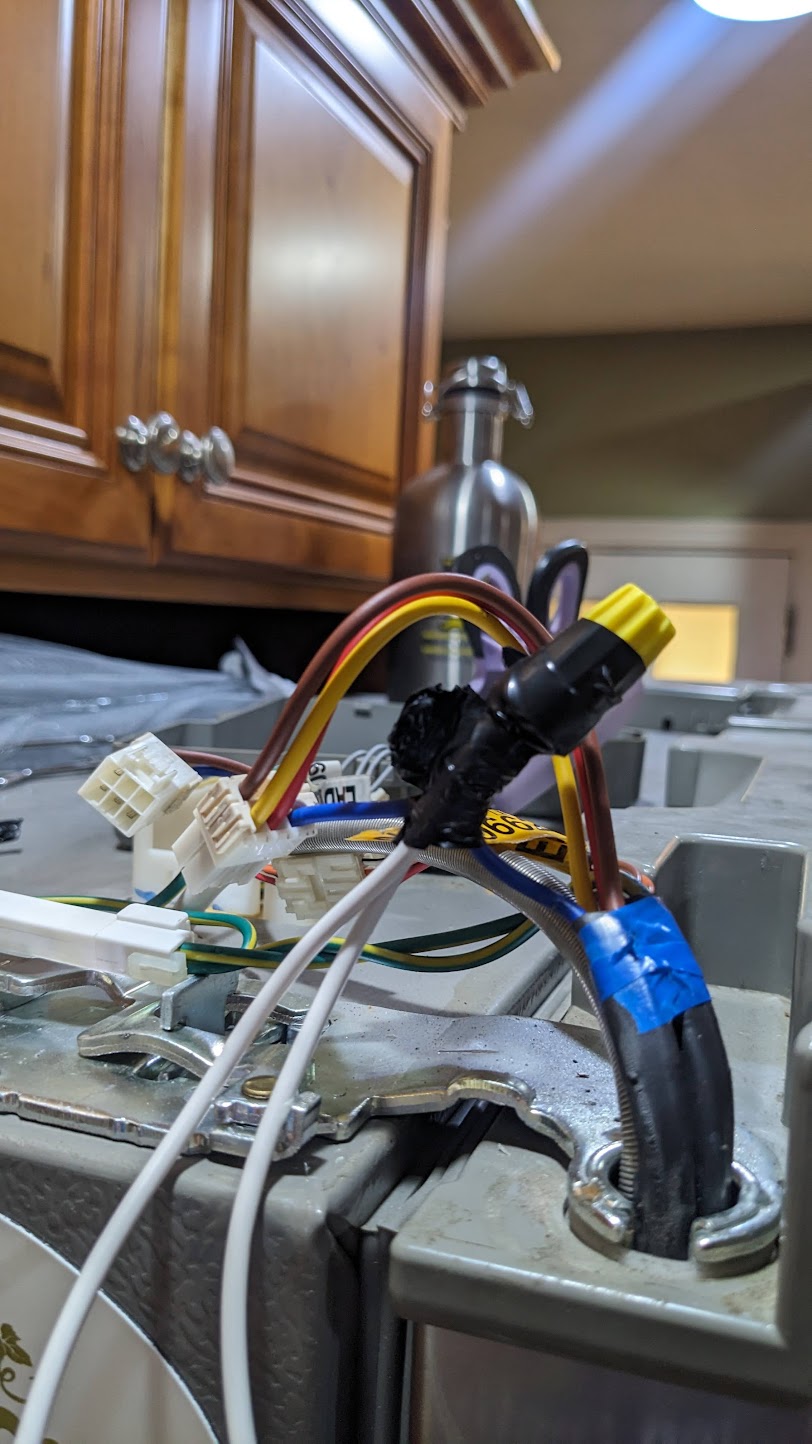
With basically no other options, I ran a new neutral (standard 18AWG) from the top of the fridge to the relay board. It’s not pretty but…everything works. I had to splice the wire in, because the icemaker I believe is the first visit on the chain.


Now everything works. I cleaned up the wiring a bit from the photos and replaced it all with proper heat shrink connectors.

